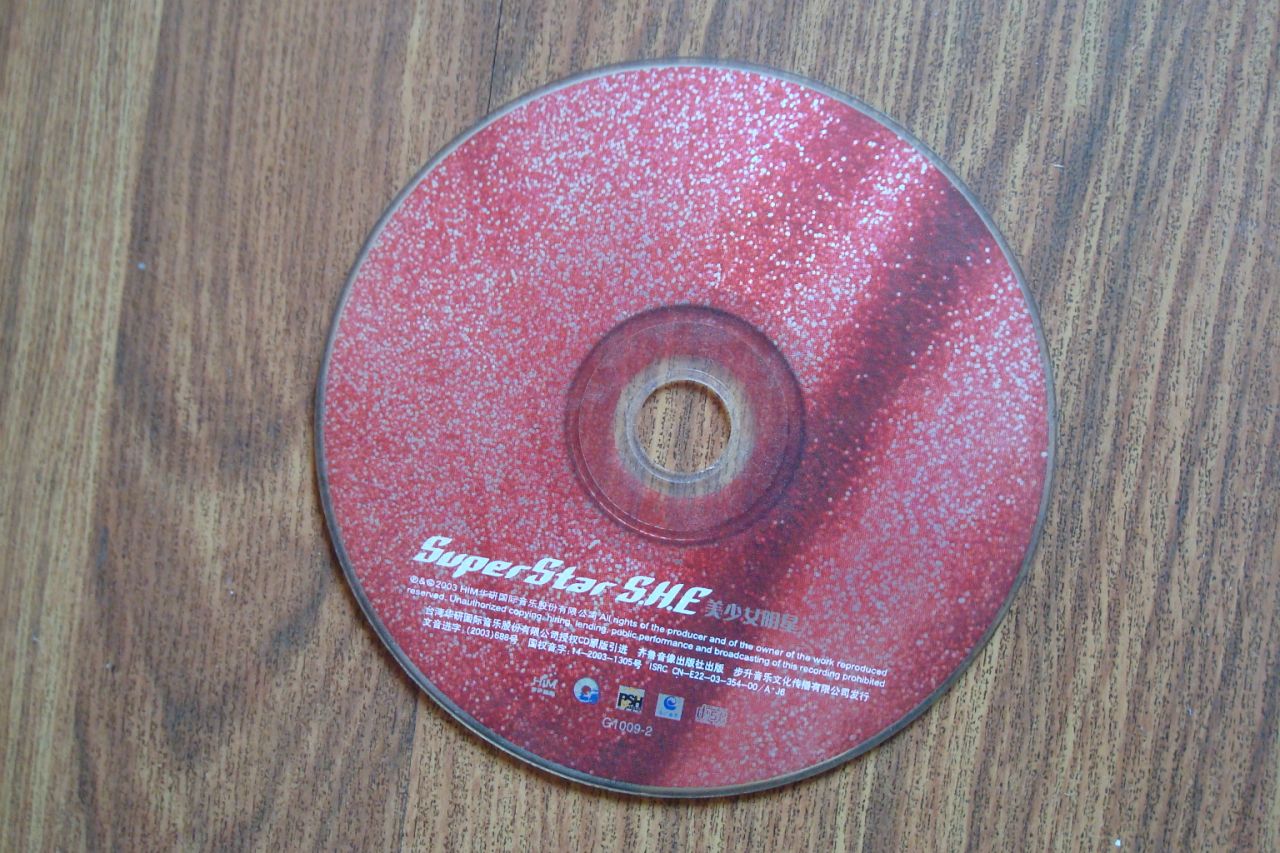
Although the compact disc is very durable, it will inevitably be scratched and worn, especially in the case of frequent use. If there is such damage, there may be a song that can't be played directly, or a document may be damaged. Although there are commercially available CD repair and repair machines, you can also use some existing equipment to repair the disc yourself. Let's have a look.
Tips for repairing scratches on CD
Method 1: CD cleaning method
1. Clean the disc. Even if the disc is not scratched or worn, dust, oil and other surface dirt will make it not play correctly. Therefore, cleaning the disc is always the first step.
2. Wipe the damaged disc with warm water to remove dust.
3. If there is stubborn dirt or grease on the disc, gently rub it with your fingers when cleaning. At the same time, use mild detergent, liquid soap, and add water or scrubbing alcohol to scrub. When wiping the disc, wipe it straight from the center to the edge to prevent further scratches.
When cleaning a disc with scrubbing alcohol, it is recommended that you clean the disc with a cotton swab dipped in alcohol, because the cotton on the swab is the recommended product for cleaning the disc.
4. Shake off the water on the disc and let it air dry (do not dry it with a towel or cloth or in the sun).
5. Try playing the disc. Good cleaning is always needed. However, the problem may still exist after cleaning. If so, you can try playing the disc with another player. Some players are better able to deal with scratches on discs, and computer drives and car stereo are often the best.
6. Burn a new disk. If the disc can be played in one player, but not others, try burning a new disc. Your CD writer may be able to read this disc well to make a perfect new copy. Even if the CD can't play completely on the computer, you can try this method.
Method 2: scratch identification method
Location scratch. If you can find out where there are scratches, it's easy to look directly at the disc. Visually inspect the playing surface of the disc for scratches or wear.
Scratches that are perpendicular to the direction of rotation of the disc, that is, those roughly in the direction of center to edge, may not affect the playback of the disc at all, and are generally less damaging than those that are roughly in the same direction of rotation. The latter will lead to the loss of continuous data bits, which may make it difficult for Reed Solomon error correction algorithm to guess what the missing data is.
If there are several scratches, but only one or two places are skipped when playing the disc, you can roughly determine the location of the damaged scratch based on the skipped tracks. The first track is near the center of the disc, and then expands to the edge as the track plays.
Make sure the disc is scratched. If there are no obvious scratches on the disc, the problem may be elsewhere. For example, dirt on the surface of the disc or disc player failure.
Method 3: foil scratch repair method
1. To determine whether the foil of the disc is scratched, put the disc in a bright light with the flashing side facing up. Look at the whole disk to see if there is any area that looks like the foil is missing.
See if there are holes in the foil. The CD with holes in the foil is usually hard to repair, even for professionals.
2. Turn the disc upside down and mark the scratched area on the foil with a whiteboard pen.
3. Cut two small strips of tape and stick them on the top of the marked area. If you play this disc again, the sound may be a little loud, but more than 70% of the small foil defects may be repaired.
Method 4: data recovery
1. Data recovery. Many recording programs can be set to continue reading the disk when encountering "error" (the error may be that some data cannot be read due to scratch). If the program cannot read some parts of the disk, it will fill them with random data. It will also try to read the damaged part several times at a very slow speed to see if it can read it out.
2. Nero can do these things under windows, but it can also be done under Linux. [1] This can usually repair damaged discs, especially for audio discs, whose accuracy is not very important.
Because there is no risk of damaging the disc, this method should be used before attempting the more aggressive method listed below. If the disc is damaged by other methods, at least the data recovered by this method can still be used. Note that these programs can take a long time to complete the recovery process due to the slow reading speed and multiple attempts to read the damaged parts (it takes about two hours to recover a Windows XP disc in this way).
Method 5: slight grinding and polishing
Note: the method described in this step may further damage the disc. Use this method only as a last resort and read the instructions carefully.
1. Polish the disc. Although this is contrary to our intuition, polishing is sure to repair scratched discs by removing some of the outer plastic coating, thus making the existing scratches shallower. Some common household products can be used to polish discs, but toothpaste (especially baking soda toothpaste) and Brasso agent may be the most suitable. You can also use a fine sand grinding compound, which is often used as a polishing agent for cars or hard finishes.
If you are going to use Brasso, make sure you use it in a well ventilated place and avoid inhaling its fumes. Be sure to read the safety instructions and warnings on any chemical. Many of these products (such as scrubbing alcohol) are flammable and may irritate the skin, eyes or respiratory tract.
2. Apply a small amount of toothpaste (must be "paste", not "glue") or Brasso on a soft, clean, lint free cloth (such as old underwear), and the cleaning cloth will work well.
3. Gently wipe the scratches or abrasions on the disc radially (from the center to the edge, just like the direction of the wheel spokes). Do this 10 to 12 times around the disc. Wiping in a circular direction may cause some small scratches, and the player's laser tracking system will skip them. If scratches have been identified, try to focus on them.
4. Polish in this way for a few minutes and then apply some more Brasso or toothpaste to the cloth as needed. Be careful, don't press the disc too hard, just feel the cloth gently wiping the disc.
5. Remove the abrasive from the disc. If you're using toothpaste, rinse the disc thoroughly with warm water and let it dry. Be sure to remove all toothpaste and allow it to dry completely before playing the disc. If you're using Brasso, wipe off the excess and let the rest dry. Then, with a clean cloth, gently wipe the disc again.
6. Test disc. If the problem persists, Polish again, this time for 15 minutes, or until the scratch is almost completely smoothed. At this time, the surface around the scratch will look glossy with fine scratches. If you've been polishing for a few minutes and you don't see any changes, the scratch should be deep, or you've misplaced it.
7. If the CD still fails to run, find a professional from a service provider and give it to him.
Daily maintenance of CD
1. The CD should be kept away from dust and magnetic field. It is appropriate to hold the edge and center of the disc by hand.
2. Due to the influence of the weather and temperature, the surface of the disc sometimes appears water vapor condensation. Before use, clean and soft cotton cloth should be taken to wipe the surface of the disc gently.
3. If stains are found on the surface of the disc, dip a clean cotton cloth with a special cleaning agent from the center to the outer edge of the disc, and use the solvent containing chemical components such as gasoline and alcohol, so as not to corrode the internal accuracy of the disc.
4. It is strictly forbidden to touch the disc with sharp tools when it is idle, so as to avoid scratching. If the disc is scratched, the information output of laser beam and optical disc will be inconsistent and information loss will occur. If there are slight scratches, special tools can be used to grind and restore the original.
5. Due to its thin thickness and low strength, it is better to stack the discs within 10 sheets. If the discs are over sized, they will easily deform and affect the playing quality.
6. If the disc is deformed, it can be placed in a paper bag with glass plates sandwiched at the top and bottom. A weight of 5 kg is pressed on the top of the glass plate. The flatness of the disc can be restored after 36 hours.
7. It is very important to choose the suitable temperature for the important optical discs to be stored for a long time. If the temperature is too high or too low, it will directly affect the life of the disc. The best temperature to keep the disc is about 20 ℃.
8. Do not use a non genuine CD-ROM, because the quality of the non genuine CD-ROM is not guaranteed and it is difficult to read the disc. As a result, the CD-ROM will be repeatedly read in one place when it works, and the squeak can be heard in serious cases. If the CD-ROM works in this condition for a long time, the CD-ROM will be damaged.
9. It is strictly forbidden to hold the CD with dirt and oil, because it is easy for dirt to attach to the CD, thus affecting the data reading. In addition, when putting the CD into the CD-ROM drive, it is necessary to handle it with care.
10. Don't put the CD in the book, which looks very smooth. In fact, it will cause slight scratch to the disc. It is better to store the CD in the CD box after use. The disc will not move in this box, and there is a certain gap between the disc body and the box body, even if it moves, it will not scratch the disk surface.
11. Do not put the dirty CD into the CD-ROM drive, because the dust on the disc will affect the normal reading of the CD-ROM drive, and the dust will also affect the life of the CD-ROM drive.
12. Don't label the disc. The foreign matter on the surface of the disc will make the disc lose its balance when rotating at high speed. In addition, the sticky limb may penetrate the protective film and damage the optical drive.
13. Do not press eject (eject key) when the CD-ROM drive is working, which will cause damage to the disc.
14. Do not expose in the sun, or it will cause deformation of the disc. In serious cases, the reflection layer of the disc storing data will be damaged and the data will be lost.
15. The CD should be stored in a ventilated and dry place. When the CD is damaged or the surface is deformed, do not put it into the CD-ROM drive.